
How the campaign works
The campaign has 120 levels on a map: 40 in the Jungle Temple, 40 in the Desert Ruins and 40 in the Mountain Pass. Odd-numbered levels give objectives with a star rating; even-numbered levels are relic hunts. Each region contains 20 relics, one per relic level. Community documentation notes that 15 relics are needed to move on to the next region.
Runs are assembled from building blocks, so the exact order of traps, turns and pickups changes between attempts. A turn-by-turn route would be wrong on your next run. Instead, each walkthrough explains what a region contains and how to prepare and react.
Early game walkthrough: Jungle Temple (levels 1–40)

Overview
The Jungle Temple is where the game teaches you everything. Lara follows Carter Bell's trail through overgrown temple ruins. The first levels are tutorials; later ones add pendulums, combat against reptilian warriors, quad bike sections and, on long runs, the T-Rex.
Objectives
- Clear the tutorial levels and learn every basic input.
- Collect the region's relics on even-numbered levels, from the Jade Scepter of Tjak on level 2 to the Sun Queen Crown on level 40.
- Earn stars on objective levels.
Preparation
- Read the controls guide before level 1.
- Save early coins for Clue Booster and Dual Pistol upgrades.
- Buy the Crossbow when it becomes available for tougher fights.
Step-by-step guide
- Play the tutorial levels without rushing. Repeat any that felt messy.
- Practise the wall-run input whenever a wall section appears.
- On relic levels, prioritise clues and play safe around them.
- When combat starts, shoot thrown bombs and boulders before targeting the warriors.
- On quad bike sections, steer early and keep to clear lanes.
- Once your pistols have a few upgrades and you own a secondary weapon, start making longer runs to meet the T-Rex.
Obstacles
Expect pendulums (including the triple pendulums of the Blind Luck achievement), swinging beams, floor spikes, spike walls, rolling balls and sawblades. Lara also runs through plants; disturbing 500 of them earns Botanist.
Combat tips
Jungle enemies come in a smaller form that throws bombs and a larger form that throws boulders. Shoot the projectiles first. The Firefighter achievement counts fire pot projectiles you shoot down, so this habit also progresses an achievement.
Common mistakes
- Jumping into pendulums because of early inputs.
- Ignoring projectiles in the first combat sections.
- Spending coins on cosmetics before core upgrades.
Additional tips
Try parkour moves where the scenery looks climbable; one Jungle Temple achievement, Trailblazer, rewards finding a secret path with a parkour move.
Next steps
Read the T-Rex guide before your first long run, then move on to the Desert Ruins.
Desert Ruins walkthrough (levels 41–80)
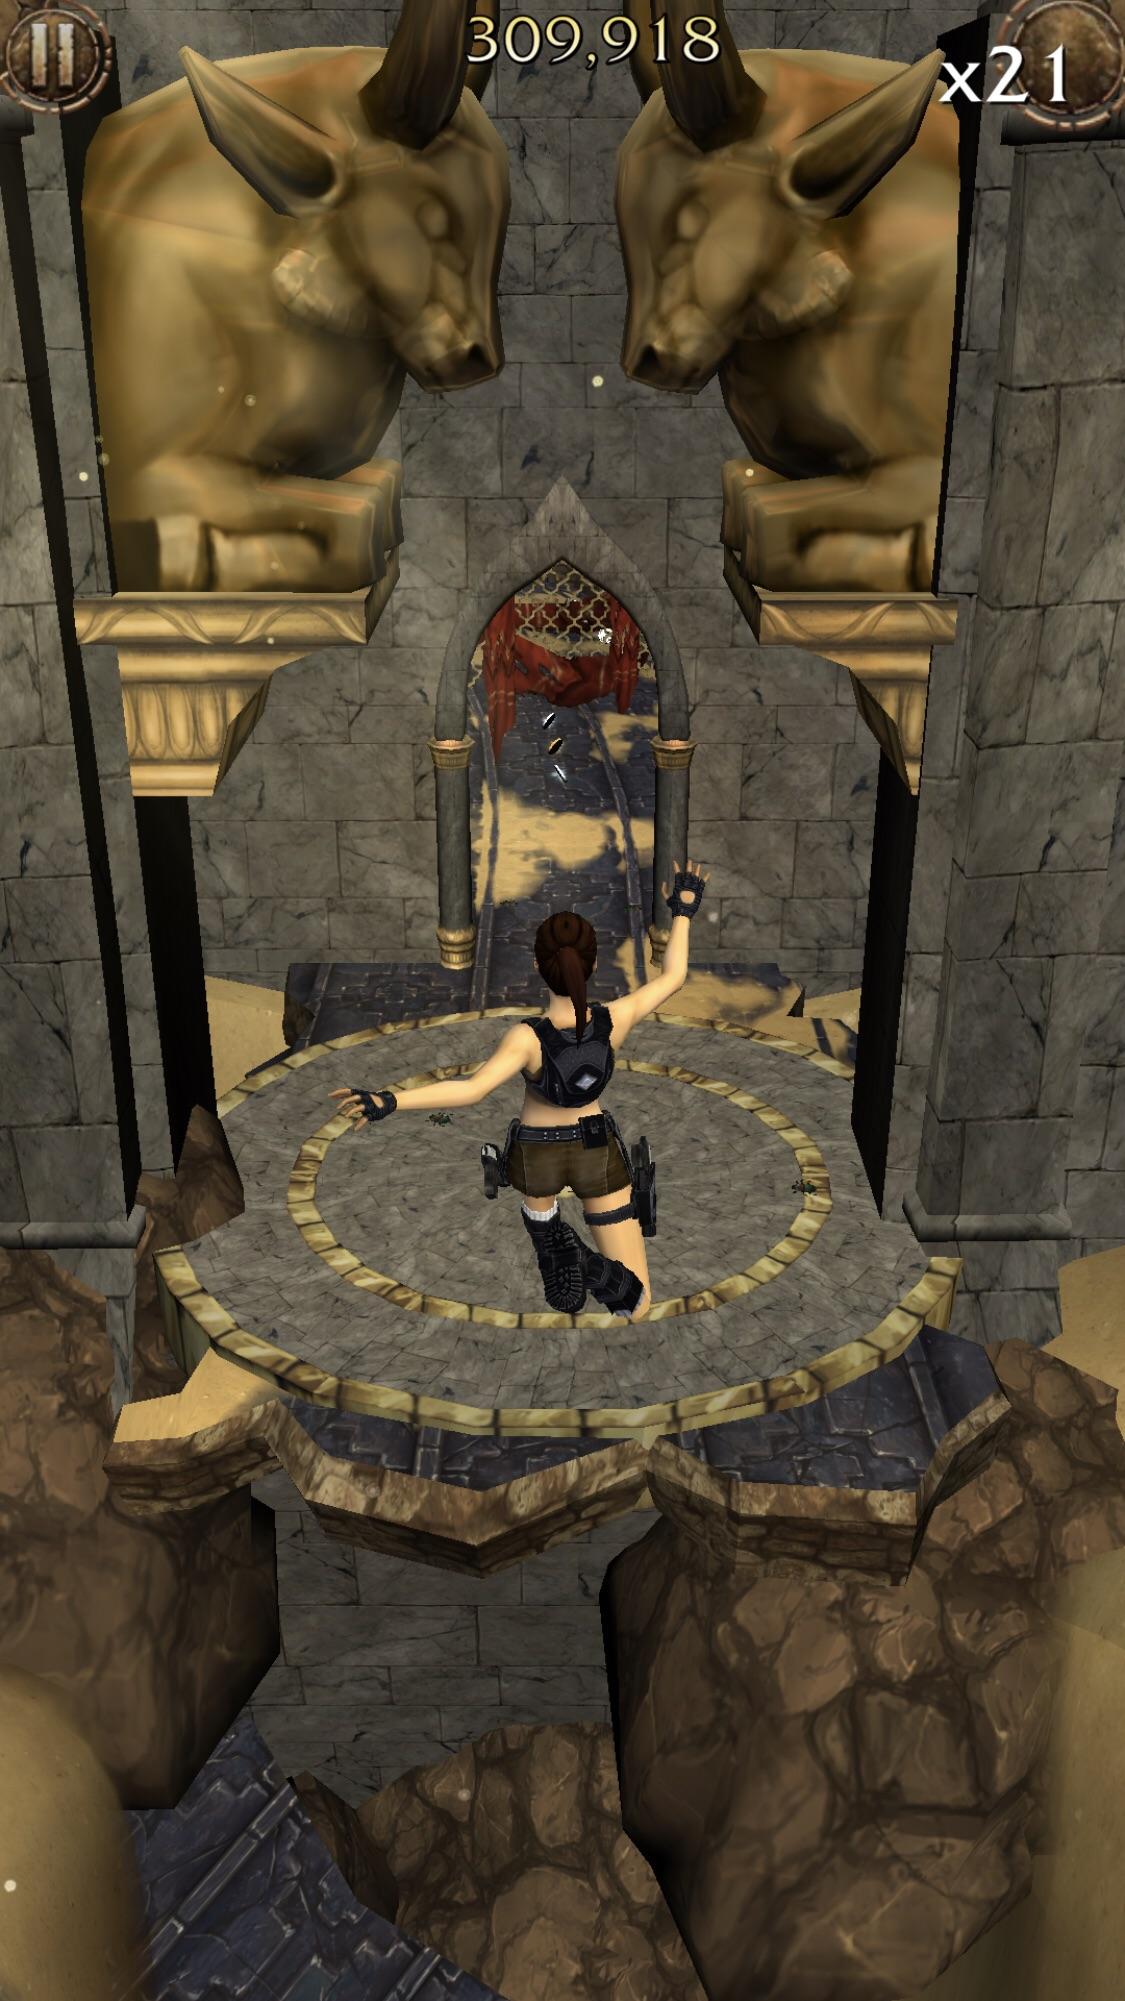
Overview
Lara follows the trail to ancient ruins in the Sahara, running through a derelict desert town and the catacombs beneath it. Statues come to life as enemies, the vehicle becomes a motorbike, and the boss is the Manticore.
Objectives
- Collect the 20 Desert Ruins relics, from the Basmu Icon on level 42 to the Bust of Rakush on level 80.
- Complete objective levels with as many stars as possible.
- Learn the new traps and smashable scenery.
Preparation
- Have a dependable, upgraded secondary weapon such as the Crossbow or Shotgun.
- Keep your Clue Booster upgrades going, because relic levels need more clues here.
- Bring Kevlar Vests or Medipacks for runs where you expect the Manticore.
Step-by-step guide
- Spend the first runs just watching how the new traps behave.
- Expect Lara to smash through windows, doors and pottery; don't flinch at them, but watch what lies behind.
- In combat, look for explosive barrels before tapping enemies.
- On the motorbike, steer early and avoid weaving between lanes.
- Once relic levels need many clues, switch to a Bomber Pilot outfit for them.
Obstacles
The Kobold Conquered achievement asks you to survive nine different kinds of traps in one Desert Ruins run, which shows how varied the region's traps are. Smashable windows, doors and pottery feature heavily (Home Improvement and Clumsy track them), and chandeliers appear too.
Combat tips
Stone warriors come to life as Lara passes. One type throws stones and another uses a whip, and a larger creature also throws objects. Use explosive barrels to damage groups.
Common mistakes
- Assuming Jungle Temple timing works for every desert trap.
- Overspending secondary ammo on weak enemies before the boss.
- Taking risky lines on the motorbike for coins.
Additional tips
Unicycle asks for 3,500 metres on one wheel in total, which refers to wheelies on the motorbike. It accumulates over many rides. The Explorer achievement rewards finding a Desert Ruins secret path with a parkour move.
Next steps
Read the Manticore guide, then continue to the Mountain Pass.
Mountain Pass walkthrough (levels 81–120)
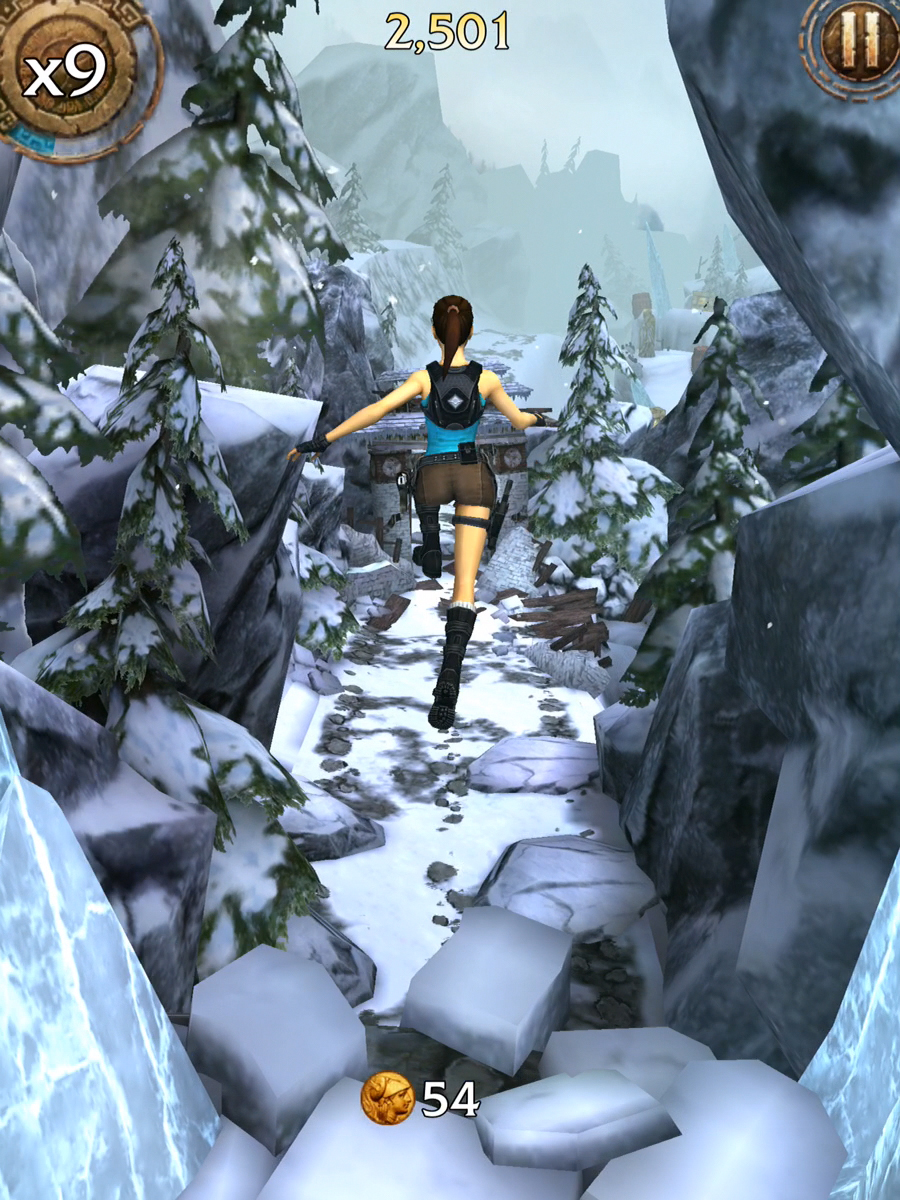
Overview
The final region takes Lara to a recently abandoned temple complex in the Himalayas. It was added in an October 2015 update together with the Minigun, the snowmobile and new enemies. Expect the hardest combat in the game: yetis, spiders, the Giant Ice Spider and the Oni Demon.
Objectives
- Collect the 20 Mountain Pass relics, from the Prayer Wheel on level 82 to the Amulet of Seeing on level 120.
- Survive the region's new hazards and the Oni Demon, which first appears on level 111.
Preparation
- Upgrade your main secondary weapon; consider the Assault Rifle, Grenade Launcher or Minigun when available.
- Carry Medipacks and Kevlar Vests for combat-heavy runs.
- Keep Ankhs for long relic levels.
Step-by-step guide
- Learn to read icicles: some hang in your path and some drop from above.
- Watch for large bells; colliding with them is tracked by Ring My Bell.
- In the outdoor combat sections, shoot the icicles, spears and boulders that yetis throw, then the yetis.
- In the spider section, shoot the small spiders that leap at Lara and the spit of the large spiders.
- From level 96, expect snowmobile sections. Dodge overhangs and icicles and keep to clear lanes.
- Before level 111, read the Oni Demon guide.
Obstacles
Icicles, large prayer bells, pots, ice barriers and drops into the abyss. Leap of Faith rewards jumping blindly into the abyss, and House of Glass asks you to completely destroy five ice barriers in one run.
Combat tips
Yetis come in normal and large sizes. Shoot their projectiles first and use explosive barrels. Exterminator tracks 300 tiny spiders shot out of the air across all your runs.
Common mistakes
- Entering the region with an under-upgraded secondary weapon.
- Ignoring the Oni Demon's red bull's-eye.
- Over-steering on the snowmobile.
Additional tips
Pioneer rewards a secret path found with parkour in the Mountain Pass. As in the other regions, try parkour where the scenery allows it.
Next steps
Read the Oni Demon and Giant Ice Spider guides. After level 120, use endless mode and achievements as your long-term goals.
The relics Lara collects are tied to Rahu, an evil asura from mythology. In the Mountain Pass, Lara uses a relic Carter left behind to contain the Oni and Rahu. Carter remains on the move, leaving the ending open.
Relic hunt levels (even-numbered levels)
Overview
Every even-numbered level is a relic hunt. Clues fill the meter in the top-left corner; when it is full a Relic appears and collecting it completes the level.
Objectives
Fill the clue meter and collect the relic before Lara dies.
Preparation
- Equip a Bomber Pilot outfit if you own one.
- Check your Clue Booster upgrades.
- Keep an Ankh for a late mistake.
Step-by-step guide
- Play safely for the opening and collect clues only from safe lanes.
- Grab Clue Booster power-ups whenever the route allows it.
- Check the meter only on calm stretches.
- When the relic appears, keep playing normally until you reach it.
- If you die with the meter nearly full, consider continuing with an Ankh.
Obstacles
The usual regional traps. Relic levels later in a region simply need more distance, so late-run obstacle density matters more.
Combat tips
Combat sections still appear. Don't waste health; dying in combat loses clues too.
Common mistakes
- Taking big risks for clues in the opening; a crash there wastes the whole attempt.
- Panicking when the relic appears.
Additional tips
Collecting the relic ends the level. If you want a high score from the same run, you can choose not to collect it; community documentation notes that the relic reappears later in the level. See this secret.
Next steps
Tick the relic in the relic checklist and read the relic hunting strategies.
Objective levels (odd-numbered levels)
Overview
Odd-numbered levels set a specific goal and award stars. Completing the objective repeatedly within one run is how you reach the full three-star mastery.
Objectives
Complete the stated task, then repeat it in the same run for more stars.
Preparation
Read the objective text carefully and choose gear that supports it, such as a strong secondary for combat goals or Kevlar Vests for survival goals.
Step-by-step guide
- Read the objective before starting.
- Plan which section of a run is likely to deliver it (running, combat or vehicle).
- Complete it once, then keep the run going for the repeat.
- If a star is missing, return later with better upgrades.
Obstacles
The same traps as relic levels; the risk is getting distracted by the objective.
Combat tips
For combat-based objectives, save secondary ammo for the moment it counts.
Common mistakes
- Playing a normal run and hoping the objective happens.
- Stopping after one completion when more stars are available in the same run.
Additional tips
Combine objectives with achievements that progress naturally from the same action.
Next steps
Combat encounters
Overview
Combat sections are rail-shooter segments. Lara keeps running, obstacles stop mattering, and you tap to shoot enemies, projectiles, barrels and crates. Health is shown only here.
Objectives
Survive with as much health as possible, gaining coins, health and ammo from crates.
Preparation
An upgraded pistol, a secondary weapon with ammo, and optionally Kevlar Vests, Medipacks or a Stealth Suit.
Step-by-step guide
- Scan for barrels and large enemies.
- Shoot incoming projectiles.
- Use barrels on groups.
- Focus fire on one enemy at a time.
- Collect crates when calm.
Obstacles
Projectiles are the obstacles in combat.
Combat tips
Unbreakable rewards a combat session with no damage, the ideal outcome of this routine.
Common mistakes
- Shooting crates while under fire.
- Draining secondary ammo early.
Additional tips
Shooting an enemy's projectile and then killing that enemy earns Kill Stealer.
Next steps
Read combat survival.
Boss encounters
Overview
On long runs, a boss joins the chase: the T-Rex in the Jungle Temple, the Manticore in the Desert Ruins and the Oni Demon in the Mountain Pass. Watch the boss's life bar to track your damage.
Objectives
Deplete the boss's health while avoiding its attacks.
Preparation
Strong secondary weapon, full ammo, healing items and ideally an Ankh.
Step-by-step guide
- Run cleanly to reach the boss with resources intact.
- Dodge the boss's attacks first.
- Use every opening to deal damage.
- Keep shooting projectiles the boss creates.
Obstacles
Boss attacks may put hazards in your path, such as the Oni's icicles.
Combat tips
Each boss has a specific window; see the boss guides.
Common mistakes
- Arriving with no secondary ammo.
- Forgetting to dodge while shooting.
Additional tips
Reaching a boss twice in one run earns Determination.
Next steps
Read the full boss guides.
Survival challenges and endless runs
Overview
Endless mode is about distance and score. Difficulty keeps rising, and bosses can appear more than once.
Objectives
Beat your distance or score record, or target long-run achievements such as Marathon.
Preparation
Head Start, an upgraded Standard outfit or Biker outfit for score, and a stock of healing items.
Step-by-step guide
- Use a Head Start to skip the easy opening.
- Play the middle lane by default.
- Save secondary ammo for bosses.
- Use an Ankh only when the run is already above your average.
Obstacles
Late-run speed and density are the main threat. See difficult sequences.
Combat tips
Pistols for small threats, secondary for big ones.
Common mistakes
- Playing tired.
- Collecting relics on a score run.
Additional tips
Leaderboards let you compare scores with other players.
Next steps
Continue with the survival guide.